安装uv/npm 1 2 3 4 5 6 7 8 9 10 11 12 curl -LsSf https://astral.sh/uv/install.sh | sh uv --version node -v npm -v npx -v curl -fsSL https://deb.nodesource.com/setup_20.x | sudo -E bash - sudo apt-get install -y nodejs
MCP 传输协议 Stdio 标准输入输出流,进行双向通信,客户端写入输入,服务器输出相应;无须依赖网络;多用于本地开发调试,同一个设备中多用;
SSE http单向推送机制,客户端http get请求建立与服务器的长连接,服务器持续以温流的形式推送事件消息,客户端接收消息;
Streamable Http 基于 HTTP 请求-响应 的标准通信方式,但响应体支持 流式传输(chunked transfer / streaming) 。
客户端发起普通的 HTTP 请求(通常是 POST),
服务器立即返回响应,但响应体内容以流的形式逐步传输,直到完整结束;
相比 SSE:支持 双向交互 ,客户端可以通过请求体携带上下文,服务器端则以流式返回部分结果;
解释sse clinet.py
1 2 3 4 5 6 7 8 9 10 11 12 13 14 15 16 17 18 19 20 21 22 23 import requestsdef sse_client (url ): response = requests.get(url, stream=True ) if response.status_code == 200 : try : for line in response.iter_lines(): if line: line = line.decode('utf-8' ) if line.startswith('data:' ): data = line[5 :].strip() print (f"收到数据: {data} " ) except KeyboardInterrupt: print ("手动关闭连接" ) else : print (f"连接失败,状态码: {response.status_code} " ) if __name__ == "__main__" : sse_client("http://localhost:5001/stream" )
service.py
1 2 3 4 5 6 7 8 9 10 11 12 13 14 15 16 17 18 19 20 21 22 23 24 25 26 27 28 29 30 31 32 33 34 35 36 37 38 39 40 41 42 43 44 45 46 47 48 from flask import Flask, Response,requestimport time,json app = Flask(__name__) @app.route('/stream' def stream (): question = request.args.get("question" ) def event_stream (): num = 0 while True : data = { "answer" : f"回答片段 {num+1 } for question: {question} " } yield f"data: {data} \n\n" num += 1 time.sleep(1 ) return Response(event_stream(), mimetype='text/event-stream' ) if __name__ == '__main__' : app.run(host='0.0.0.0' , port=5001 , debug=True )
stdio模式 1 2 3 4 5 mcp = FastMCP(name="weather" ) if __name__ == "__main__" : mcp.run(transport='stdio' )
配置json文件
1 2 3 4 5 6 7 8 9 10 11 12 13 { "mcpServers" : { "weather" : { "command" : "uv" , "args" : [ "--directory" , "/home/cys/data/MCPserver/my_weather_mcp_server" , "run" , "weather_stdio.py" ] } } }
sse模式 1 2 3 4 5 6 7 8 9 10 11 12 13 mcp = FastMCP( name="weather" , host="0.0.0.0" , port=8005 , sse_path="/sse" ) if __name__ == "__main__" : print ('开启 服务 starting server' ) mcp.run(transport='sse' )
开启服务 uv run weather_http.py
修改json 配置。
1 2 3 4 5 6 7 8 { "mcpServers" : { "weather" : { "url" : "http://127.0.0.1:8005/sse" , "type" : "sse" } } }
http模式 weather_http.py
1 2 3 4 5 6 7 8 9 10 11 12 13 mcp = FastMCP( name="weather" , host="0.0.0.0" , port=8005 , sse_path="/mcp" ) if __name__ == "__main__" : print ('开启 服务 starting server' ) mcp.run(transport='streamable-http' )
开启服务 uv run weather_http.py
修改json 配置。
1 2 3 4 5 6 7 8 { "mcpServers" : { "weather" : { "url" : "http://172.17.0.1:8005/mcp" , "type" : "streamableHTTP" } } }
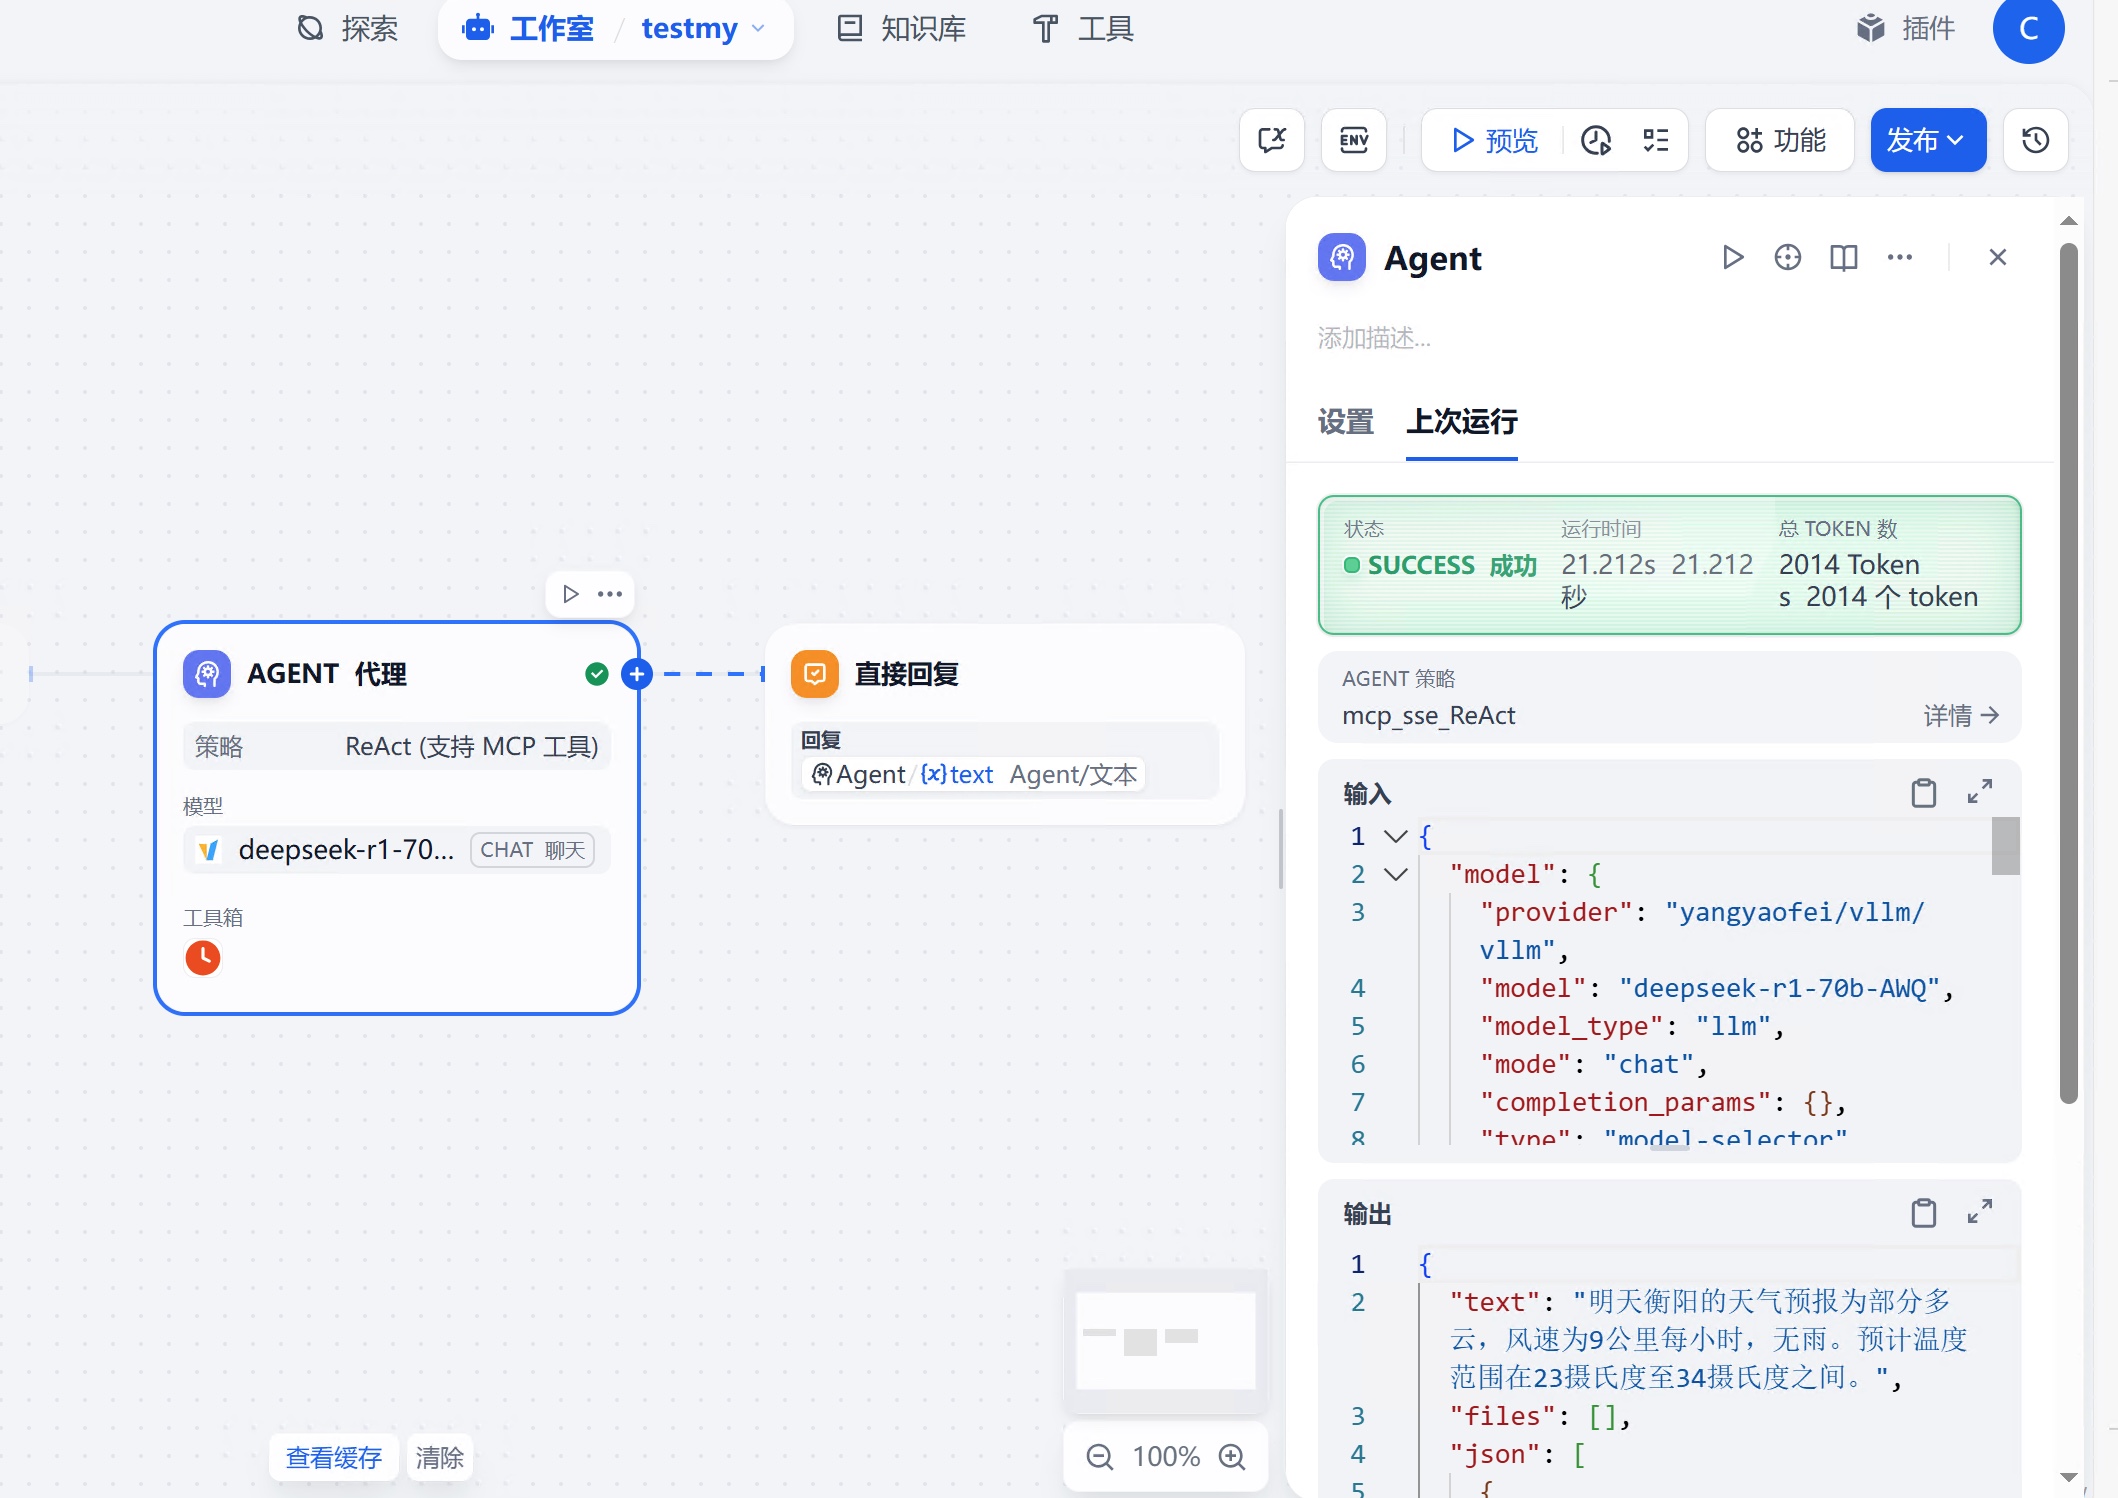
dify 中的 mcp 配置 dify 中 mcp 只支持 sse 模式,所以,我们可以看见 用的 mcp 配置 按照 一些mcp 的GitHub中的 指导 ,在 Cline 或者 Cherry Studio 中可以用,但是 在 DIfy 中 是不可用的, 可以遇到 这样类型的报错
1 Failed to transform agent message: req_id: 74bcdf4f71 PluginInvokeError: {"args" :{},"error_type" :"TypeError" ,"message" :"Invalid type for url. Expected str or httpx.URL, got \u003cclass 'NoneType'\u003e: None" }
就是因为 dify 默认用了sse 访问形式,解析studio的命令会出现 返回值和预期不一致的情况。
为了解决这个问题,我们 有两种方法,
方法一:改代码:
方法二:用转换工具:
Python开发MCP Server 阅读: 用 openweather为模版 改一个自己的。
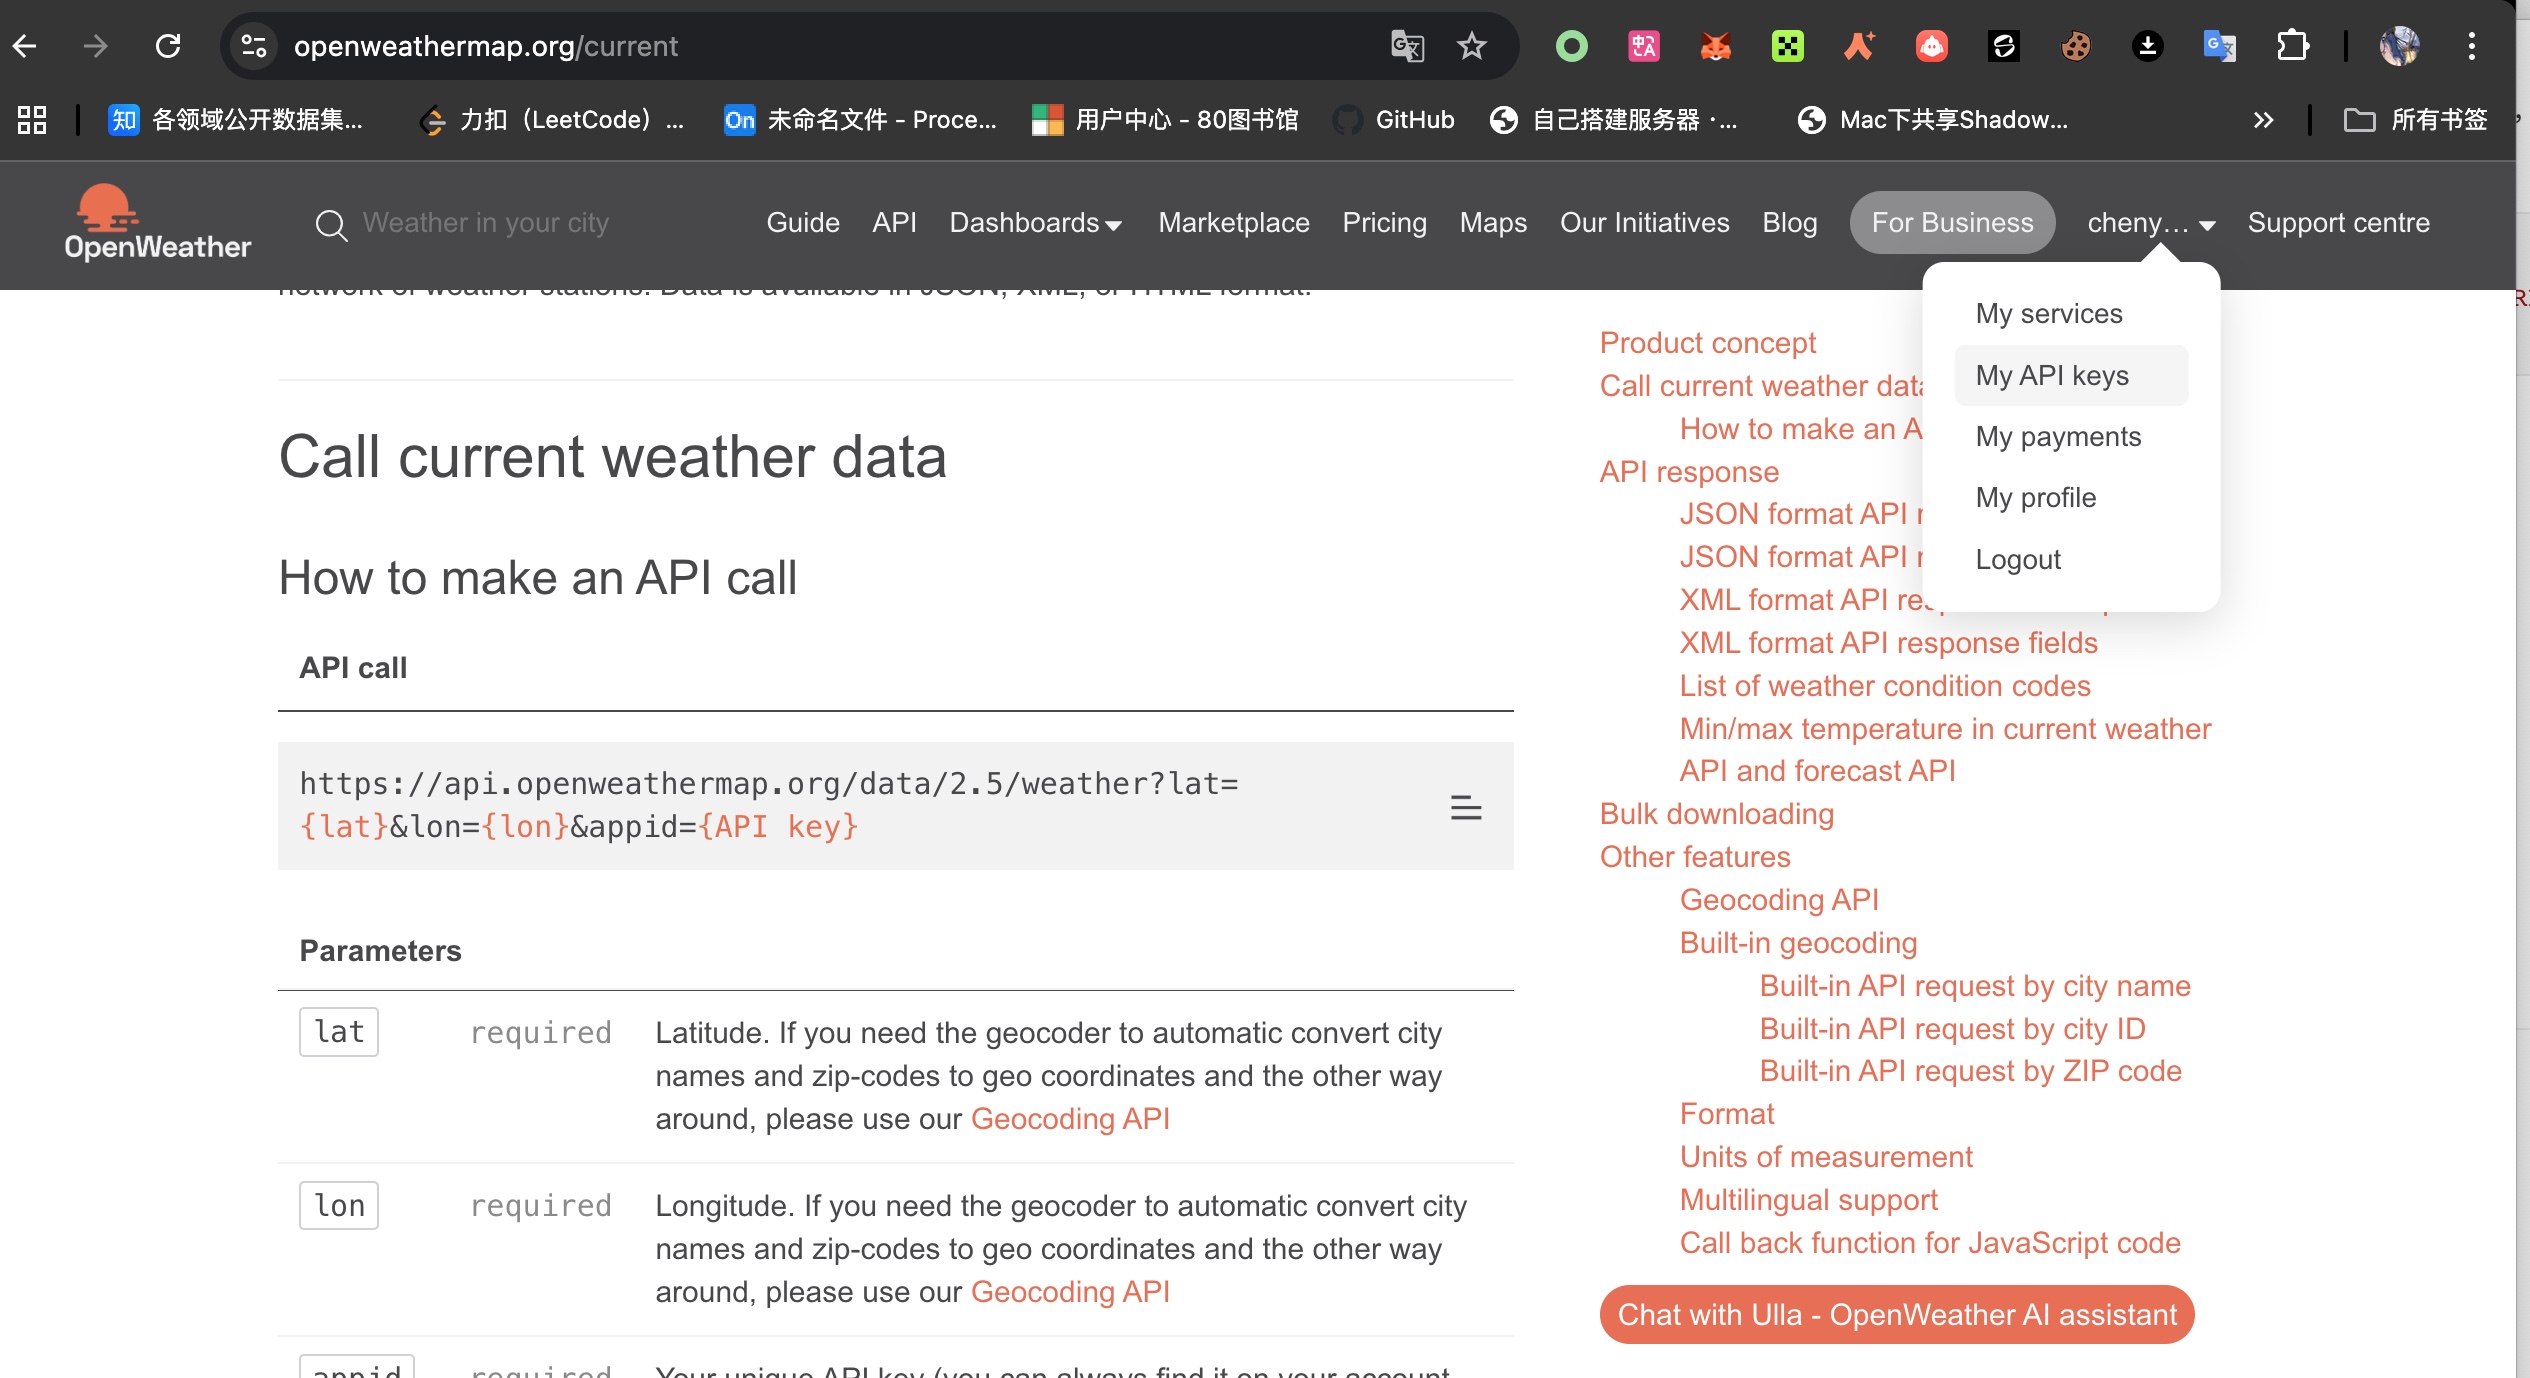
https://openweathermap.org/
进入它的API,搜free ,看到 有一个current weather data,进入API doc。
看它需要怎么用。默认就三个参数 经纬度和APIkey。
从右边可见 还有基于别的 方法查询,比如城市名称。
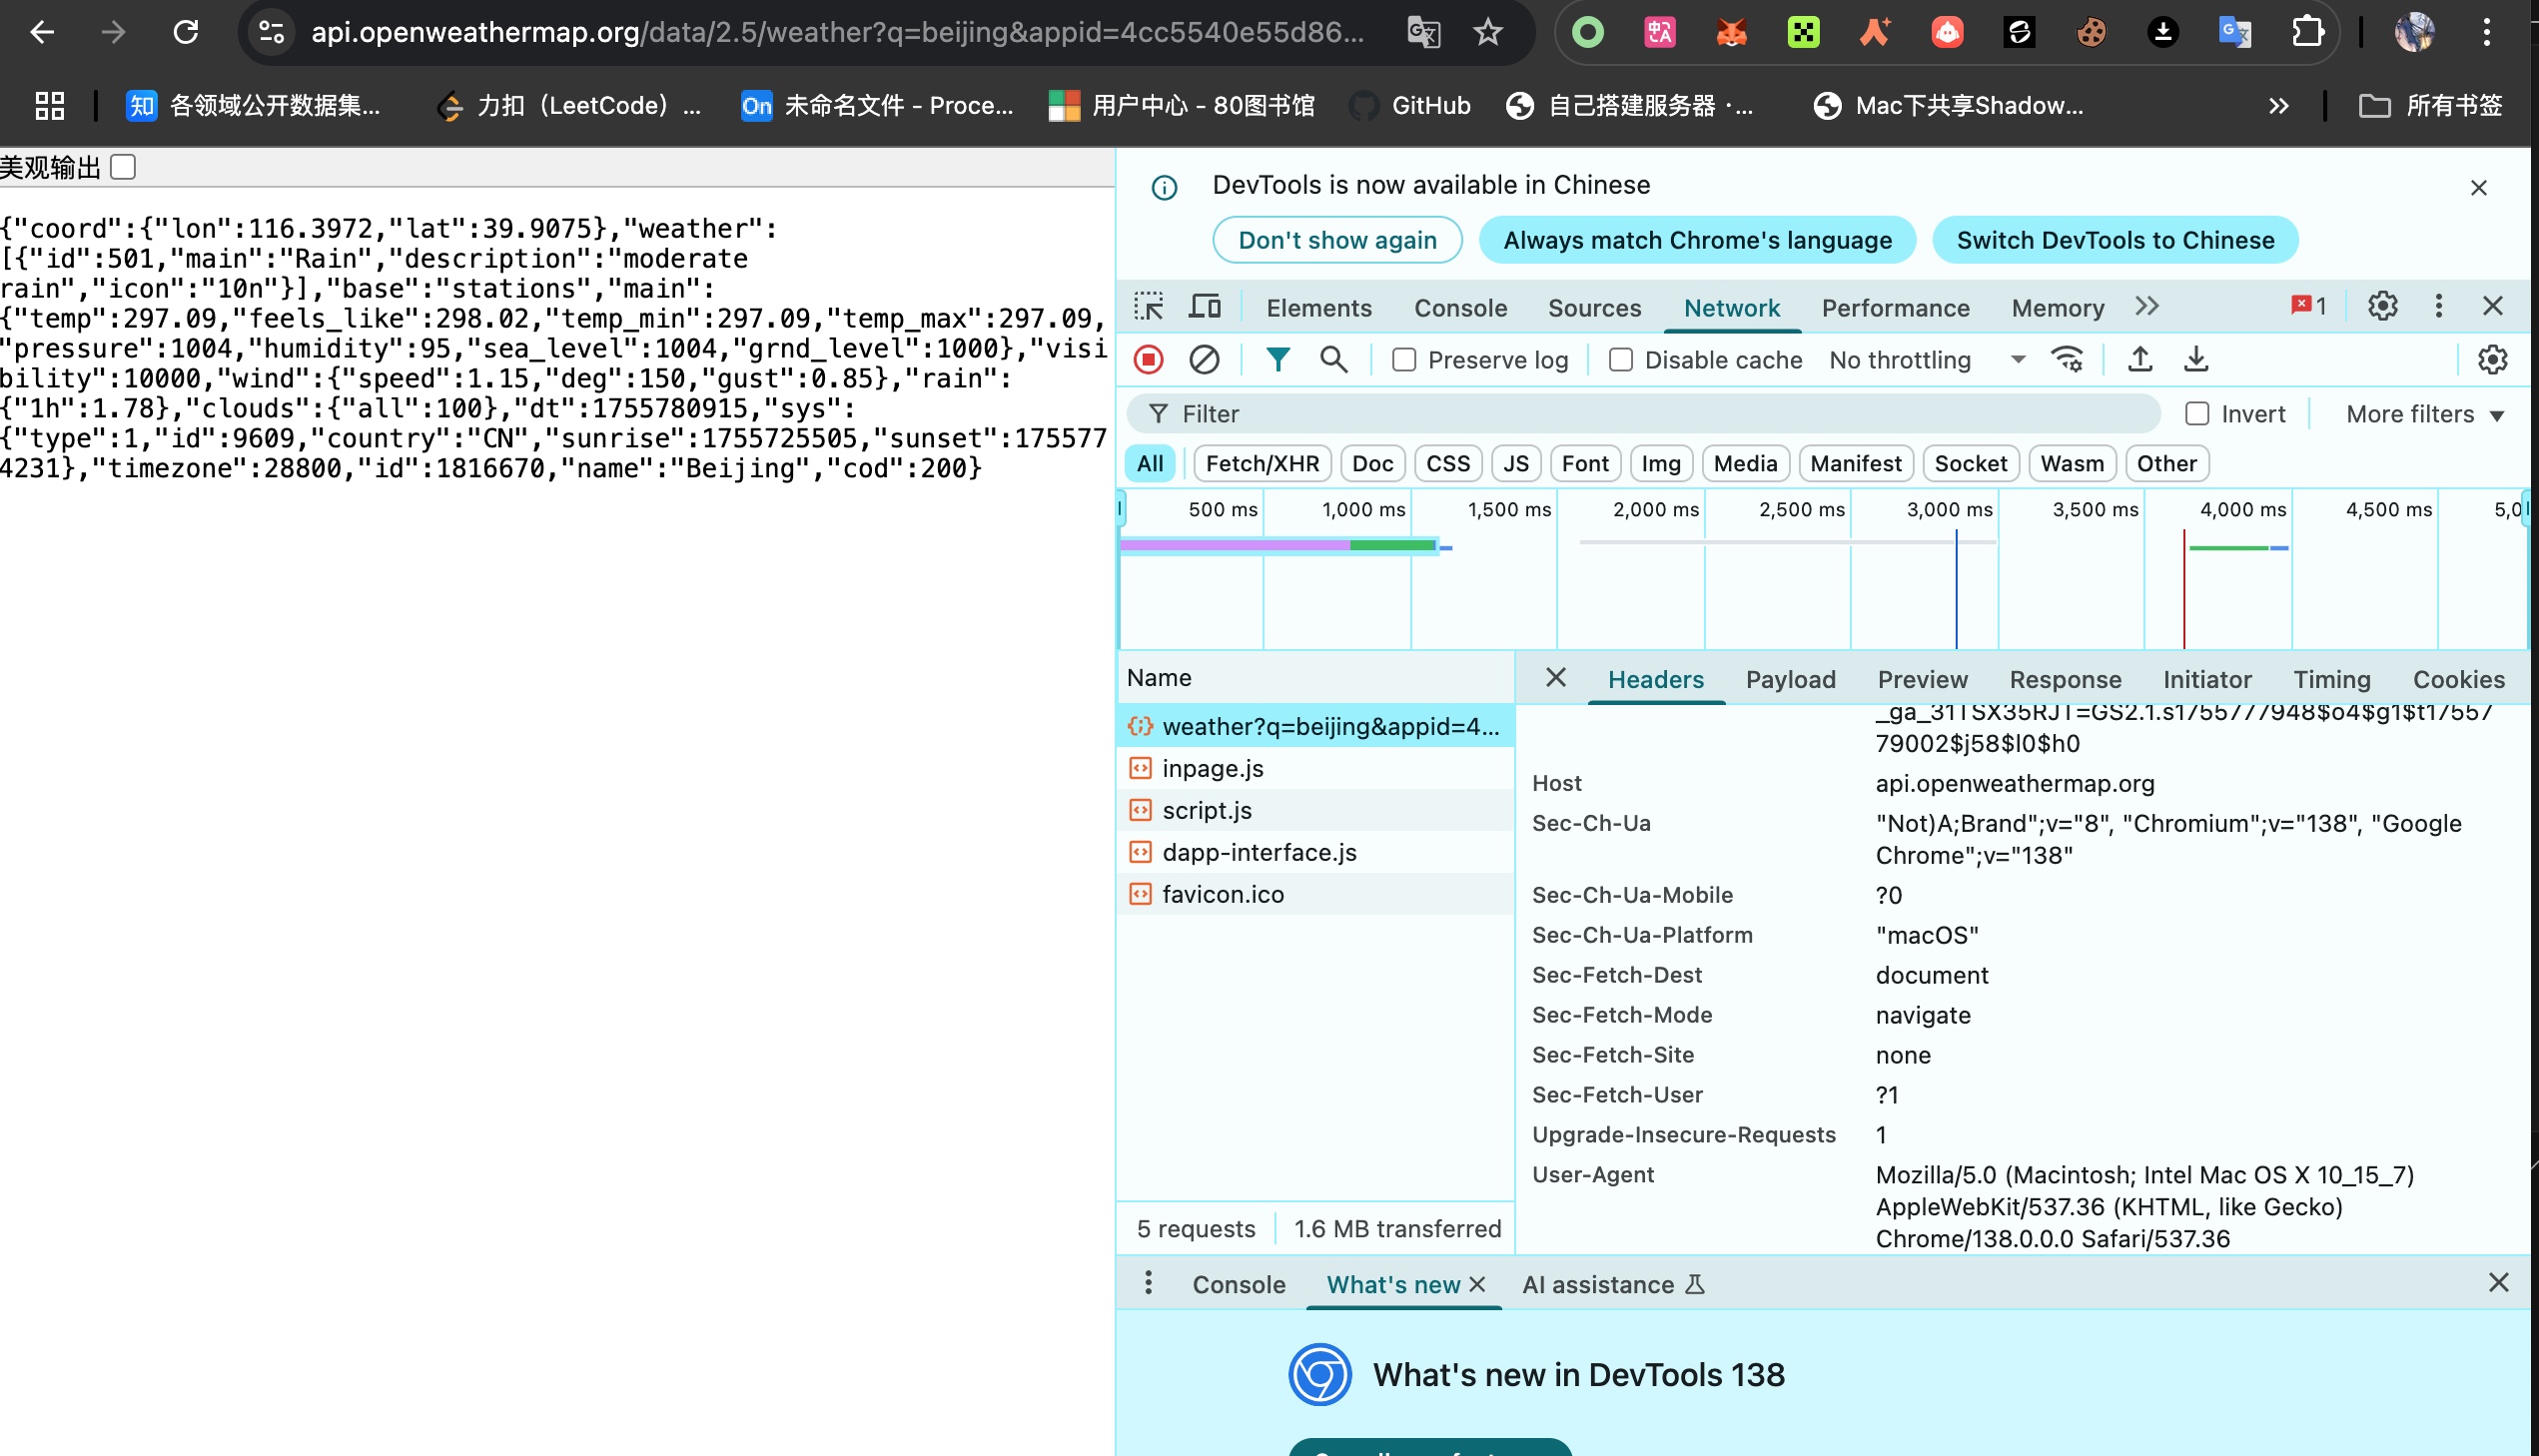
1 2 3 4 5 浏览器: https: 返回: { "coord" : { "lon" : 116.3972 , "lat" : 39.9075 } , "weather" : [ { "id" : 501 , "main" : "Rain" , "description" : "moderate rain" , "icon" : "10n" } ] , "base" : "stations" , "main" : { "temp" : 299.35 , "feels_like" : 299.35 , "temp_min" : 299.35 , "temp_max" : 299.35 , "pressure" : 1003 , "humidity" : 95 , "sea_level" : 1003 , "grnd_level" : 999 } , "visibility" : 10000 , "wind" : { "speed" : 1.34 , "deg" : 14 , "gust" : 1.94 } , "rain" : { "1h" : 1.6 } , "clouds" : { "all" : 90 } , "dt" : 1755778408 , "sys" : { "country" : "CN" , "sunrise" : 1755725505 , "sunset" : 1755774231 } , "timezone" : 28800 , "id" : 1816670 , "name" : "Beijing" , "cod" : 200 }
建立文件夹环境: 1 2 3 4 5 uv init my_weather_mcp_server -p 3.10 cd my_weather_mcp_serveruv venv source .venv/bin/activate uv add mcp[cli] httpx
编码: weather_stdio.py
1 2 3 4 5 6 7 8 9 10 11 12 13 14 15 16 17 18 19 20 21 22 23 24 25 26 27 28 29 30 31 32 33 34 35 36 37 38 39 40 41 42 43 44 45 46 47 48 49 50 51 52 53 54 55 56 57 58 59 60 61 62 63 64 65 66 67 68 69 from typing import Any import httpx from mcp.server.fastmcp import FastMCP mcp = FastMCP("weather" ) NWS_API_BASE = "https://api.openweathermap.org/data/2.5/weather" USER_AGENT = "Mozilla/5.0 (Macintosh; Intel Mac OS X 10_15_7) AppleWebKit/537.36 (KHTML, like Gecko) Chrome/138.0.0.0 Safari/537.36" def kelvin_to_celsius (kelvin: float ) -> float : return kelvin - 273.15 async def get_weather_from_cityname (cityname: str ) -> dict [str ,Any ] | None : "发请求并处理错误 " headers = { "User-Agent" : USER_AGENT, "Accept" : "application/geo+json" } params = { "q" : cityname, "appid" : "4cc5540e55d86d33858c1fdff4fda354" } async with httpx.AsyncClient() as client: try : response = await client.get(NWS_API_BASE,headers=headers,params=params) response.raise_for_status() return response.json() except : return None def format_alter (feature: dict ) -> str : "接口返回数据格式化输出" if feature["cod" ] == 404 : return "参数异常,查看是否输入城市名称错误" elif feature["cod" ] == 401 : return "API key 异常" elif feature["cod" ] == 200 : return f""" city:{feature.get('name' ,'unknowCity' )} weather:{feature.get('weather' ,[{} ])[0].get('description','unkonw_weather')} min_temperature:{kelvin_to_celsius(feature.get('main' ,{} ).get('temp_min',0)):.2f}℃ max_temperature:{kelvin_to_celsius(feature.get('main' ,{} ).get('temp_max',0)):.2f}℃ humidity:{feature.get('main' ,{} ).get('humidity',0)}% wind:{feature.get('wind' ,{} ).get('speed',0):.2f} m/s """ @mcp.tool() async def get_weather_from_cityname_tool (city: str ) -> str : """ Get weather information for a city. Args: city (str): City name. For Chinese cities, please use pinyin. Returns: str: Weather description. """ data = await get_weather_from_cityname(city) return format_alter(data) if __name__ == "__main__" : mcp.run(transport='stdio' )
weather_sse.py
1 2 3 4 5 6 7 8 9 10 11 12 13 14 15 16 17 18 19 20 21 22 23 24 25 26 27 28 29 30 31 32 33 34 35 36 37 38 39 40 41 42 43 44 45 46 47 48 49 50 51 52 53 54 55 56 57 58 59 60 61 62 63 64 65 66 67 68 69 70 71 72 73 from typing import Any import httpx from mcp.server.fastmcp import FastMCP mcp = FastMCP(name="weather" , host="0.0.0.0" , port=8005 , sse_path="/sse" ) NWS_API_BASE = "https://api.openweathermap.org/data/2.5/weather" USER_AGENT = "Mozilla/5.0 (Macintosh; Intel Mac OS X 10_15_7) AppleWebKit/537.36 (KHTML, like Gecko) Chrome/138.0.0.0 Safari/537.36" def kelvin_to_celsius (kelvin: float ) -> float : return kelvin - 273.15 async def get_weather_from_cityname (cityname: str ) -> dict [str ,Any ] | None : "发请求并处理错误 " headers = { "User-Agent" : USER_AGENT, "Accept" : "application/geo+json" } params = { "q" : cityname, "appid" : "4cc5540e55d86d33858c1fdff4fda354" } async with httpx.AsyncClient() as client: try : response = await client.get(NWS_API_BASE,headers=headers,params=params) response.raise_for_status() return response.json() except : return None def format_alter (feature: dict ) -> str : "接口返回数据格式化输出" if feature["cod" ] == 404 : return "参数异常,查看是否输入城市名称错误" elif feature["cod" ] == 401 : return "API key 异常" elif feature["cod" ] == 200 : return f""" city:{feature.get('name' ,'unknowCity' )} weather:{feature.get('weather' ,[{} ])[0].get('description','unkonw_weather')} min_temperature:{kelvin_to_celsius(feature.get('main' ,{} ).get('temp_min',0)):.2f}℃ max_temperature:{kelvin_to_celsius(feature.get('main' ,{} ).get('temp_max',0)):.2f}℃ humidity:{feature.get('main' ,{} ).get('humidity',0)}% wind:{feature.get('wind' ,{} ).get('speed',0):.2f} m/s """ @mcp.tool() async def get_weather_from_cityname_tool (city: str ) -> str : """ Get weather information for a city. Args: city (str): City name. For Chinese cities, please use pinyin. Returns: str: Weather description. """ data = await get_weather_from_cityname(city) return format_alter(data) if __name__ == "__main__" : print ('开启 服务 starting server' ) mcp.run(transport='sse' )
写MCP的json配置: stdio 传输方式 配置json文件
1
2
3
4
5
6
7
8
9
10
11
12
13
{ "mcpServers" : { "weather" : { "command" : "uv" , "args" : [ "--directory" , "/home/cys/data/MCPserver/my_weather_mcp_server" , "run" , "weather_stdio.py" ] } } }
sse 传输方式 先开启服务
再配置json文件
1
2
3
4
5
6
7
8
{ "mcpServers" : { "weather" : { "url" : "http://127.0.0.1:8005/sse" , "type" : "sse" } } }
对于运行在docker容器中的dify而言,还需要如下配置。
宿主机运行命令,查出docker容器访问宿主机的IP。
1 2 3 4 5 6 7 ip addr show docker0 7: docker0: <NO-CARRIER,BROADCAST,MULTICAST,UP> mtu 1500 qdisc noqueue state DOWN group default link /ether 3a:60:3b:3b:d5:f4 brd ff:ff:ff:ff:ff:ff inet 172.17.0.1/16 brd 172.17.255.255 scope global docker0 valid_lft forever preferred_lft forever
172.17.0.1 就是默认的 容器访问宿主机的地址。
上面的json配置改写
1
2
3
4
5
6
7
8
{ "mcpServers" : { "weather" : { "url" : "http://172.17.0.1:8005/sse" , "type" : "sse" } } }
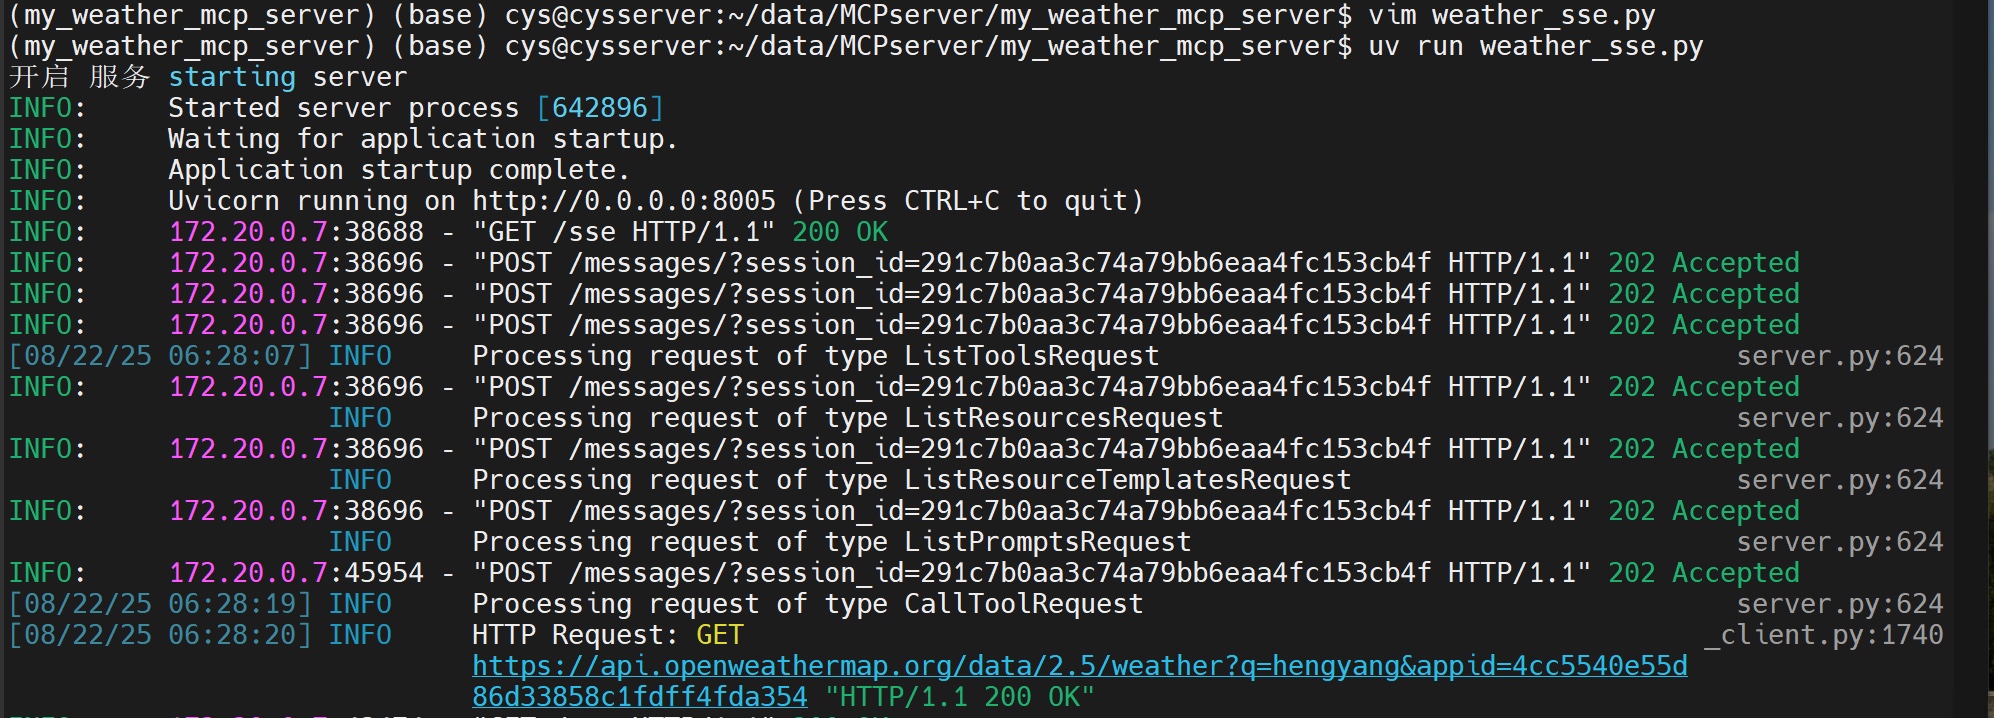
手写 MCP 遇到的一个常见问题 如果在 自己写的 MCP服务的 后台已经看见了 200 的日志,说明 Dify 已经能成功连到你的 服务了。
但是遇到:
1 Run failed: Failed to transform agent message: req_id: 52df8d2480 PluginInvokeError: {"args" :{},"error_type" :"AttributeError" ,"message" :"'NoneType' object has no attribute 'parameters'" }
这个意思是 PluginInvokeError MCP插件没调用起来,
FastMCP 的 @mcp.tool() 装饰器会自动从 函数签名 和docstring 生成 JSON Schema,返回给 Dify。
比如这种风格的
1 2 3 4 5 """ Get weather information for a city. Args: city: city name. for chinese cities,please use pinyin. """
fastmcp 并不解析这种 Args: 风格,它期望 Google / NumPy 风格 。
1 2 3 4 5 6 7 8 9 """ Get weather information for a city. Args: city (str): City name. For Chinese cities, please use pinyin. Returns: str: Weather description. """
可以直接手写你的原始doctoring,然后要大模型给你 改写成 Google / NumPy 风格 ,再 贴进代码中。
另外,还有一个问题是 ,一个 agent 只要被 大模型调用,就会进入 MCP 的业务中,如果这个 MCP 业务是处理 单个城市信息的,你问了一堆 城市信息,如果大模型不懂的拆分问题,一个一个去调用 MCP业务查询,那就会 一股脑丢进 MCP 业务中,然后导致 查不到东西。


